OFFERS ENDS IN:

Having trouble getting your free module?
Don't worry here is the step by step guide
How to Access Module 1 For FREE
1. Create an Account or Login
Click the link below to create a Kois Account (or log in if you are already have an account). You must sign up on this page to receive Early Access and additional bonuses including up to $150 Tuition Credits from Course Karma:
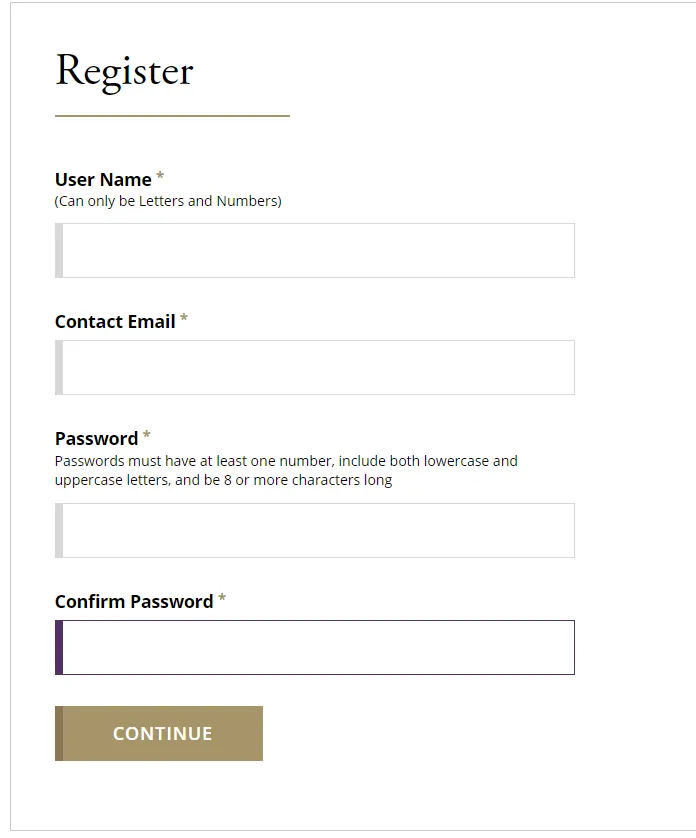
2. Register or Log In
Make sure to use the same email you use to log in to Course Karma. Create your password and click 'Continue'.
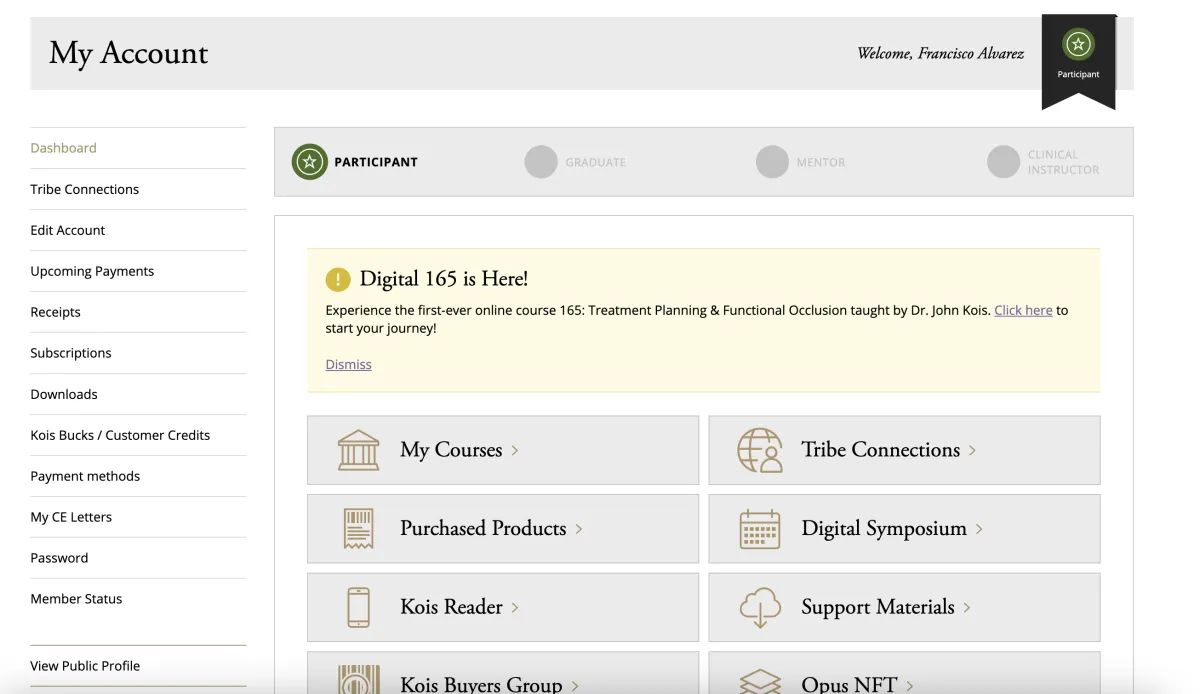
3. Click the link on the callout box "Digital 165 is Here!"
Note: If you can't find the callbox, go to this link KOIS ONLINE and move to step number 4.
4. Scroll down through the course page and you will find standard digital course
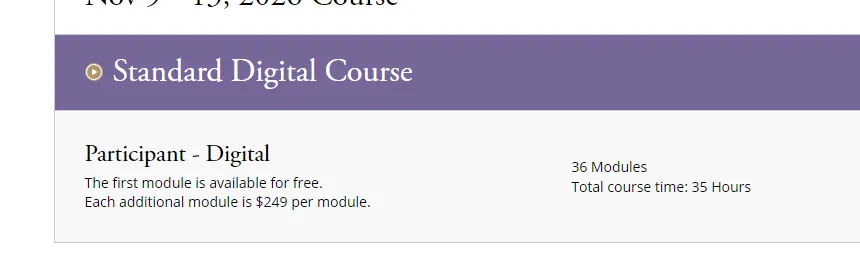
5. Add it to your cart and proceed to check out. You won't be charged for this first module
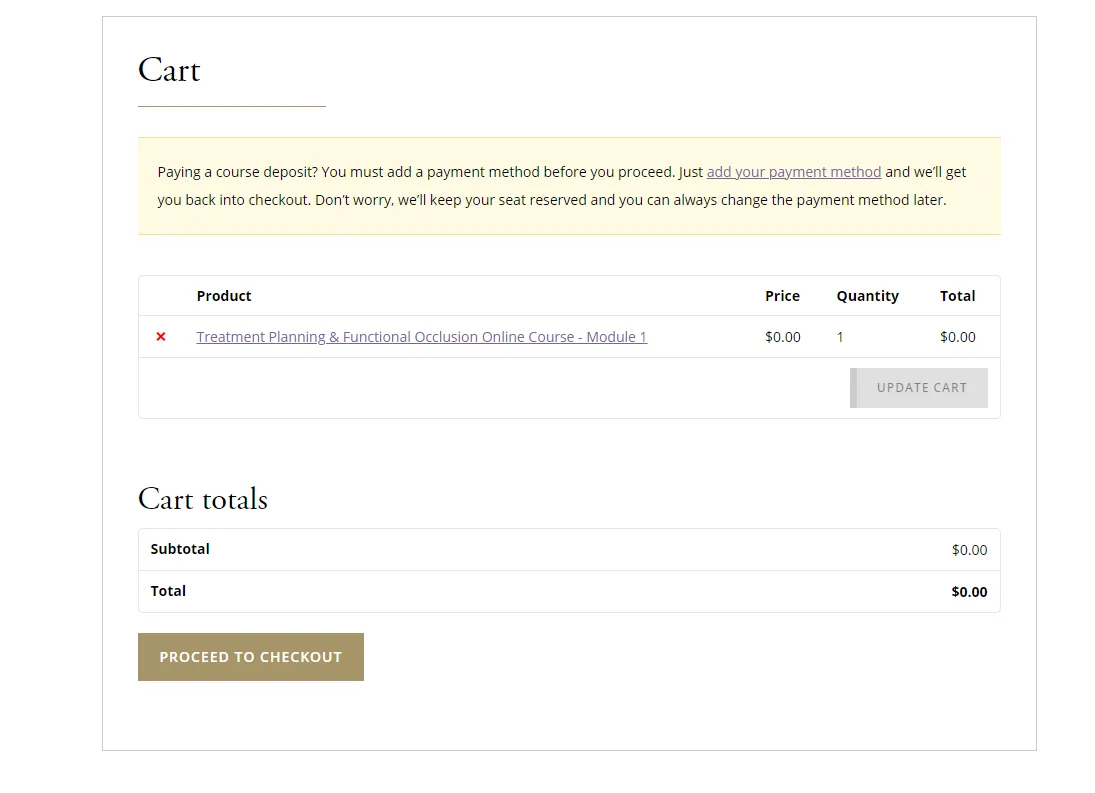
6. Update your information and check out
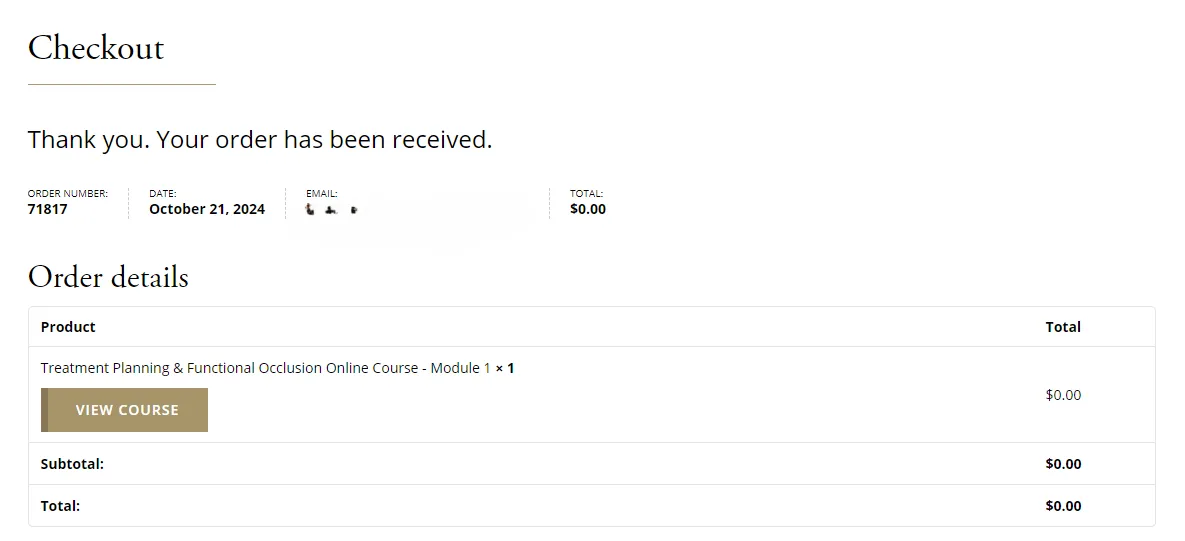
7.Congrats you can now enjoy your free module
3. Find mentors and meet other dentists taking KOIS 165 with Course Karma MAP Program (Optional)
Don't just learn—apply!
Join our Mentorship & Accountability Program (MAP) and connect with a group of like-minded dentists in our recently launched KOIS Cohort.
Get the guidance, real-world feedback, and support you need to implement what you've learned in the masterclass and the Kois 165 course!

Occlusion for the Real World

OBAB was created to simplify this complex topic, making it easy to understand and implement in your daily practice. This is the knowledge that occlusion camps don't want you to discover—the on-demand, online course covers everything comprehensively without dividing the subject into multiple courses, continuums, or pathways.
Module 1 – Occlusal Foundations - You will understand the difference between Function and Parafunction, as well as Anatomy and Physiology explained to you in a way that actually makes sense and is CLINICALLY relevant!
1.0 - Welcome to Module 1
1.1 - Language of Occlusion
1.2 - Occlusion vs Occluding
1.3 - Anatomy and Physiology Part 1 (Muscles and Joints)
1.4 - Anatomy and Physiology Part 2 (Teeth and CNS)
1.5 - Biomechanics and Levers
1.6 - Function vs Parafunction Part 1
1.7 - Function vs Parafunction Part 2
1.8 - Weakest Link Theory
1.9 - Challenge 1 - Weakest Link in Practice
1.10 - Physiological vs Pathological TSL
1.11 - Envelope of Function
1.12 - Envelope of Function Part 2
1.13 - Bruxism, Occlusion and TMD
1.14 - Guidance Systems and Interferences
1.16 - Module Quiz - Test Yourself
Scenario 1 - Virgin Cracked Tooth and Occluding Disease
Module 2 - History, Exam and Records - Master basic and comprehensive Occlusal exams, understanding their use. Our 4K loupe-mounted camera footage provides superior views.
2.0 - Welcome to Module 2
2.1 - CSI - The Mystery is in the History
2.2 - Basic Occlusal Examination
2.3 - Basic Occlusal Exam Clinical Walkthrough
2.4 - BOE Form Walkthrough
2.5 - Comprehensive Occlusal Examination
2.6 - Challenge - Assess Muscle Size
2.7 - Assessing TMJ Health Part 1
2.8 - Assessing TMJ Health Part 2
2.9 - Conformative Dentistry Part 1 - Introduction
2.10 - Conformative Dentistry Part 2 - Armamentarium
2.11 - Challenge - Use Shim Stock
2.12 - Conformative Dentistry Part 3 - Direct Non-Guiding Tooth
2.13 - Conformative Dentistry Part 4 - Direct Guiding Tooth
2.14 - Conformative Dentistry Part 5 - Indirect Non-Guiding Tooth
2.15 - Conformative Dentistry Part 6 - Indirect Guiding Tooth
2.16 - Conformative Dentistry Part 7 - Top Tips
2.17 - Conformative Dentistry on Guiding Teeth - Bonus
2.18 - Identify Wear Patterns - Introduction
2.19 - Identifying Wear Patterns - Edge to Edge
2.20 - Identifying Wear Patterns - Pathway Wear
2.21 - Identifying Wear Patterns - Edge AND Pathway Wear
2.22 - Identifying Wear Patterns - Crossover Wear
2.23 - Identifying Wear Patterns Wrap Up
2.24 - Fremitus and Occlusal Trauma
Module 3 - Risk Assessment and Planning - Learn basic and comprehensive Occlusal exams, understanding their use. Our 4K loupe-mounted camera footage offers superior views.
3.0 - Welcome to Module 3
3.1 - Conform or Reorganise?
3.2 - Play Your Bite Right!
3.3 - Challenge - Reorganise or Conform?
3.4 - Ideal Occlusal Features - Fundamental Concepts
3.5 - Ideal Occlusal Features Part 2 - Load and Resistance
3.6 - 5 Occlusal Positions Part 1
3.7 - 5 Occlusal Positions Part 2
3.8 - Assessing the OVD
3.9 - Force Management Masterclass Part 1
3.10 - Force Management Masterclass Part 2
3.11 - Force Management Masterclass Part 3
3.12 - Last Tooth in the Arch Part 1
3.13 - Last Tooth in the Arch Part 2
3.14 - Last Tooth in the Arch Part 3
3.15 - Finding CRCP and Measuring the CR-MIP Shift
3.16 - Lengthening Teeth Part 1
3.17 - Lengthening Teeth Part 2
3.18 - Lengthening Teeth Part 3
3.19 - Lengthening Teeth Part 4
3.20 - NWSI Explained
3.21 - Respect the Pathways
3.22 - Identify Wear Patterns
Scenario 3 - Lost Occlusal Space Recovery (LTITA)
Module 4 - Conforming and Protecting- Don't be fooled, although most Maxillary Impactions can be quite easy to remove, some can be incredibly difficult and humbling! Let's learn how to tackle them
4.0 - Welcome to Module 4
4.1 - Importance of Conformative Dentistry
4.2 - Conforming with Benefits Part 1
4.3 - Conforming with Benefits Part 2
4.4 - Challenge - Robin Hood Adjustment
4.5 - Conforming with Direct Composite
4.6 - Conforming in Dynamic Occlusion CGIT
4.7 - Restorative Records for Advanced Conformative Dentistry
4.8 - Advanced Restorative Dentistry and Treatment Planning
4.9 - Converting Canine Guidance to Group Function
4.10 - Landing Pad Occlusion Part 1
4.11 - Landing Pad Occlusion - Part 2
4.12 - Landing Pad Occlusion Part 3
4.13 - Landing Pad Occlusion Part 4
4.14 - Lab Considerations in Conforming
4.15 - Challenge - Occlusal Prescription
4.16 - Canine Risers
4.17 - Optimizing Articulators
4.18 - Occlusion and Bridges Part 1
4.19 - Occlusion and Bridges Part 2
4.20 - Occlusion in Implants
4.21 - Landing Pad Case
4.22 - Challenge - Reduce Adjusting Time
4.23 - Cheating without Facebow Part 1
4.24 - Cheating without Facebow Part 2
Module 5 - Re-Organising and Beyond - Let's look at what determines the difficulty of Maxillary Impactions
5.0 - Welcome to Module 5
5.1 - What is the Re-Organised Approach?
5.2 - Reorganised or Disorganised - Where to Start?
5.3 - Deprogramming Masterclass
5.4 - Treatment Planning Front to Back
5.5 - Working It Out In Provisionals
5.6 - Mutually Protected Occlusion
5.7 - Challenge - Plan Your Growth
5.8 - Canine Guidance or Group Function
5.9 - MOSO Part 1
5.10 - MOSO Part 2 - Framework
5.11 - MOSO Part 3 - What Helps Us Achieve It
5.12 - Dahl Technique
5.13 - Adapted Centric Posture - What is it?
5.14 - Adapted Centric Posture and Risk Assessment
5.15 - Post Orthodontic Occlusion
5.16 - Broad Lines Part 1
5.17 - Broad Lines Part 2
5.18 - Broad Lines Part 3
5.19 - Broad Lines Part 4
5.20 - Broad Lines Part 5
5.21 - Tx Planning and Sequencing FMR
5.22 - Challenge - Plan Comprehensively
5.23 - Occlusal Appliances for Protection
5.24 - My Experience with T-Scan


Our mission is to help dental professionals find the best continuing education.
Copyrights 2024 | Course Karma Inc