
3-Day Hands-On Veneer Workshop + Live Patient Case
Anterior Veneer Aesthetics
by Elevate Dentistry
- 3 Seats Left -
Occlusion for the Real World

OBAB was created to simplify this complex topic, making it easy to understand and implement in your daily practice. This is the knowledge that occlusion camps don't want you to discover—the on-demand, online course covers everything comprehensively without dividing the subject into multiple courses, continuums, or pathways.
Module 1 – Occlusal Foundations - You will understand the difference between Function and Parafunction, as well as Anatomy and Physiology explained to you in a way that actually makes sense and is CLINICALLY relevant!
1.0 - Welcome to Module 1
1.1 - Language of Occlusion
1.2 - Occlusion vs Occluding
1.3 - Anatomy and Physiology Part 1 (Muscles and Joints)
1.4 - Anatomy and Physiology Part 2 (Teeth and CNS)
1.5 - Biomechanics and Levers
1.6 - Function vs Parafunction Part 1
1.7 - Function vs Parafunction Part 2
1.8 - Weakest Link Theory
1.9 - Challenge 1 - Weakest Link in Practice
1.10 - Physiological vs Pathological TSL
1.11 - Envelope of Function
1.12 - Envelope of Function Part 2
1.13 - Bruxism, Occlusion and TMD
1.14 - Guidance Systems and Interferences
1.16 - Module Quiz - Test Yourself
Scenario 1 - Virgin Cracked Tooth and Occluding Disease
Module 2 - History, Exam and Records - Master basic and comprehensive Occlusal exams, understanding their use. Our 4K loupe-mounted camera footage provides superior views.
2.0 - Welcome to Module 2
2.1 - CSI - The Mystery is in the History
2.2 - Basic Occlusal Examination
2.3 - Basic Occlusal Exam Clinical Walkthrough
2.4 - BOE Form Walkthrough
2.5 - Comprehensive Occlusal Examination
2.6 - Challenge - Assess Muscle Size
2.7 - Assessing TMJ Health Part 1
2.8 - Assessing TMJ Health Part 2
2.9 - Conformative Dentistry Part 1 - Introduction
2.10 - Conformative Dentistry Part 2 - Armamentarium
2.11 - Challenge - Use Shim Stock
2.12 - Conformative Dentistry Part 3 - Direct Non-Guiding Tooth
2.13 - Conformative Dentistry Part 4 - Direct Guiding Tooth
2.14 - Conformative Dentistry Part 5 - Indirect Non-Guiding Tooth
2.15 - Conformative Dentistry Part 6 - Indirect Guiding Tooth
2.16 - Conformative Dentistry Part 7 - Top Tips
2.17 - Conformative Dentistry on Guiding Teeth - Bonus
2.18 - Identify Wear Patterns - Introduction
2.19 - Identifying Wear Patterns - Edge to Edge
2.20 - Identifying Wear Patterns - Pathway Wear
2.21 - Identifying Wear Patterns - Edge AND Pathway Wear
2.22 - Identifying Wear Patterns - Crossover Wear
2.23 - Identifying Wear Patterns Wrap Up
2.24 - Fremitus and Occlusal Trauma
Module 3 - Risk Assessment and Planning - Learn basic and comprehensive Occlusal exams, understanding their use. Our 4K loupe-mounted camera footage offers superior views.
3.0 - Welcome to Module 3
3.1 - Conform or Reorganise?
3.2 - Play Your Bite Right!
3.3 - Challenge - Reorganise or Conform?
3.4 - Ideal Occlusal Features - Fundamental Concepts
3.5 - Ideal Occlusal Features Part 2 - Load and Resistance
3.6 - 5 Occlusal Positions Part 1
3.7 - 5 Occlusal Positions Part 2
3.8 - Assessing the OVD
3.9 - Force Management Masterclass Part 1
3.10 - Force Management Masterclass Part 2
3.11 - Force Management Masterclass Part 3
3.12 - Last Tooth in the Arch Part 1
3.13 - Last Tooth in the Arch Part 2
3.14 - Last Tooth in the Arch Part 3
3.15 - Finding CRCP and Measuring the CR-MIP Shift
3.16 - Lengthening Teeth Part 1
3.17 - Lengthening Teeth Part 2
3.18 - Lengthening Teeth Part 3
3.19 - Lengthening Teeth Part 4
3.20 - NWSI Explained
3.21 - Respect the Pathways
3.22 - Identify Wear Patterns
Scenario 3 - Lost Occlusal Space Recovery (LTITA)
Module 4 - Conforming and Protecting- Don't be fooled, although most Maxillary Impactions can be quite easy to remove, some can be incredibly difficult and humbling! Let's learn how to tackle them
4.0 - Welcome to Module 4
4.1 - Importance of Conformative Dentistry
4.2 - Conforming with Benefits Part 1
4.3 - Conforming with Benefits Part 2
4.4 - Challenge - Robin Hood Adjustment
4.5 - Conforming with Direct Composite
4.6 - Conforming in Dynamic Occlusion CGIT
4.7 - Restorative Records for Advanced Conformative Dentistry
4.8 - Advanced Restorative Dentistry and Treatment Planning
4.9 - Converting Canine Guidance to Group Function
4.10 - Landing Pad Occlusion Part 1
4.11 - Landing Pad Occlusion - Part 2
4.12 - Landing Pad Occlusion Part 3
4.13 - Landing Pad Occlusion Part 4
4.14 - Lab Considerations in Conforming
4.15 - Challenge - Occlusal Prescription
4.16 - Canine Risers
4.17 - Optimizing Articulators
4.18 - Occlusion and Bridges Part 1
4.19 - Occlusion and Bridges Part 2
4.20 - Occlusion in Implants
4.21 - Landing Pad Case
4.22 - Challenge - Reduce Adjusting Time
4.23 - Cheating without Facebow Part 1
4.24 - Cheating without Facebow Part 2
Module 5 - Re-Organising and Beyond - Let's look at what determines the difficulty of Maxillary Impactions
5.0 - Welcome to Module 5
5.1 - What is the Re-Organised Approach?
5.2 - Reorganised or Disorganised - Where to Start?
5.3 - Deprogramming Masterclass
5.4 - Treatment Planning Front to Back
5.5 - Working It Out In Provisionals
5.6 - Mutually Protected Occlusion
5.7 - Challenge - Plan Your Growth
5.8 - Canine Guidance or Group Function
5.9 - MOSO Part 1
5.10 - MOSO Part 2 - Framework
5.11 - MOSO Part 3 - What Helps Us Achieve It
5.12 - Dahl Technique
5.13 - Adapted Centric Posture - What is it?
5.14 - Adapted Centric Posture and Risk Assessment
5.15 - Post Orthodontic Occlusion
5.16 - Broad Lines Part 1
5.17 - Broad Lines Part 2
5.18 - Broad Lines Part 3
5.19 - Broad Lines Part 4
5.20 - Broad Lines Part 5
5.21 - Tx Planning and Sequencing FMR
5.22 - Challenge - Plan Comprehensively
5.23 - Occlusal Appliances for Protection
5.24 - My Experience with T-Scan
It’s not just cosmetic. It’s clinical excellence, by design.
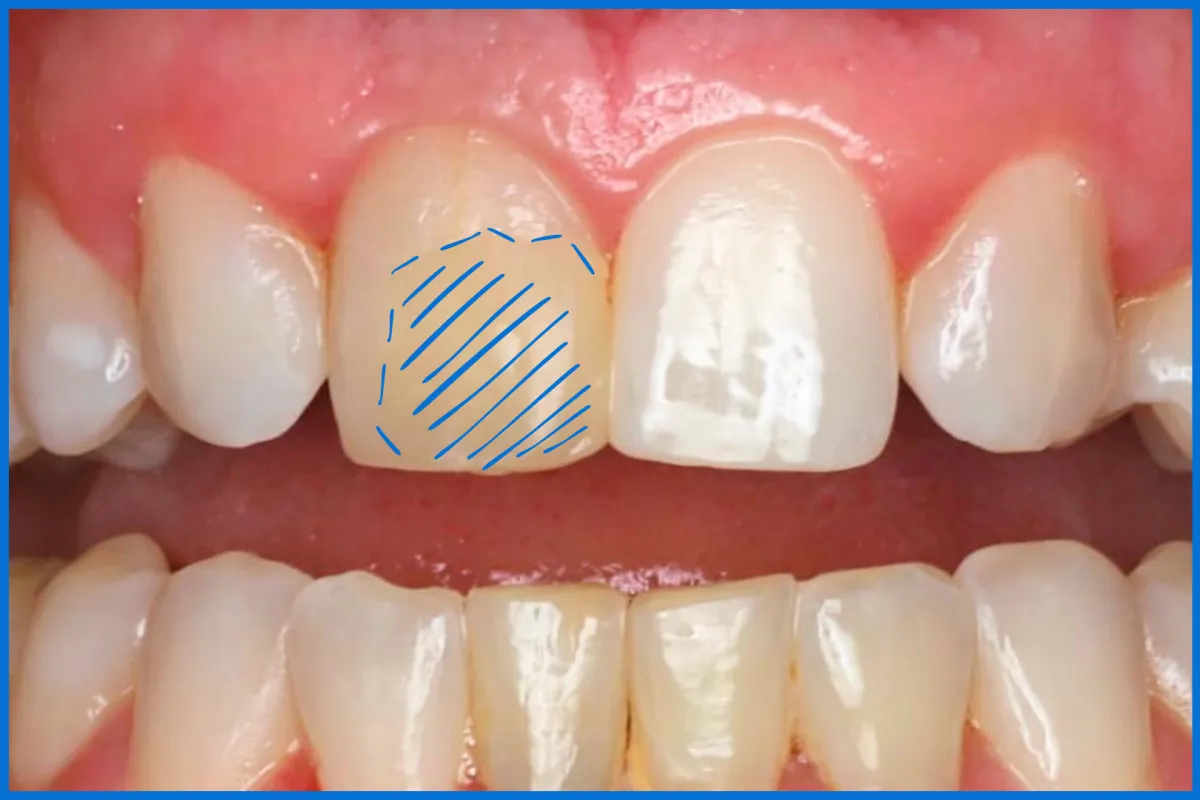
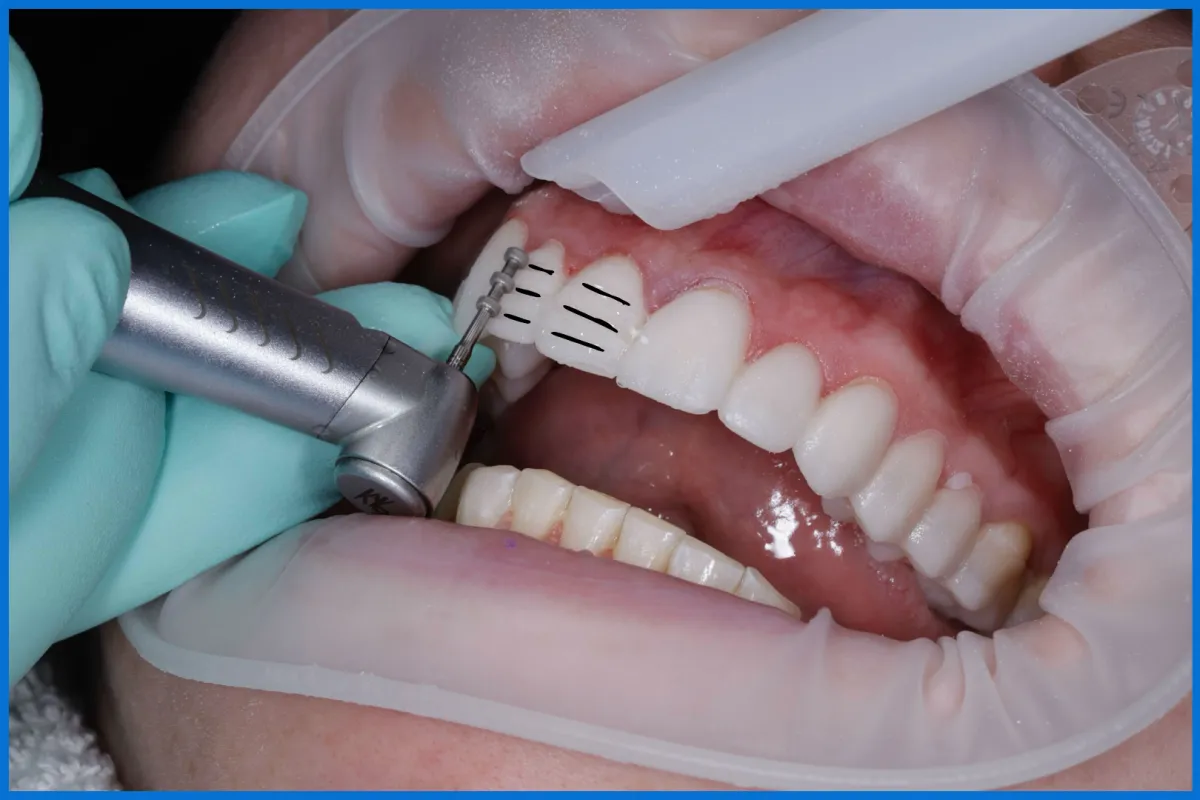
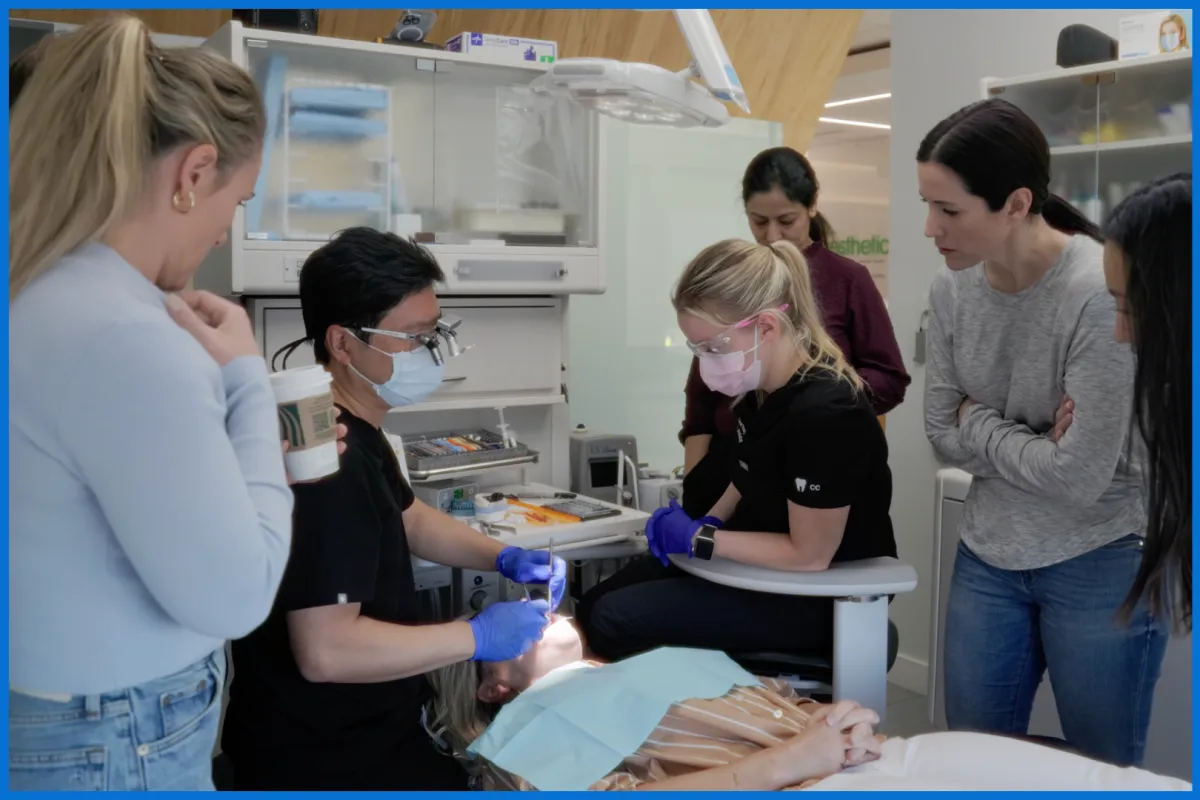
This immersive, hands-on course is designed to give dentists a step-by-step framework for delivering esthetic, functional, and biologically sound veneer outcomes—while also learning how to confidently present and market these services in practice.
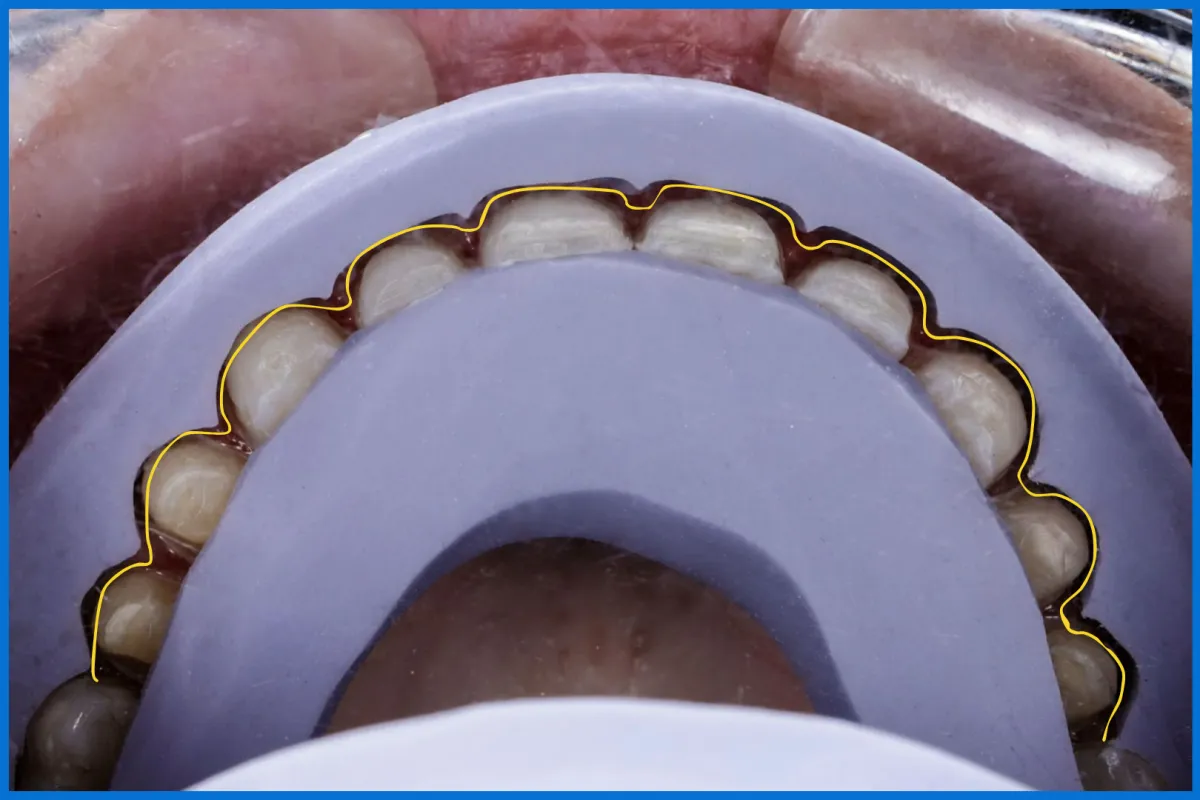
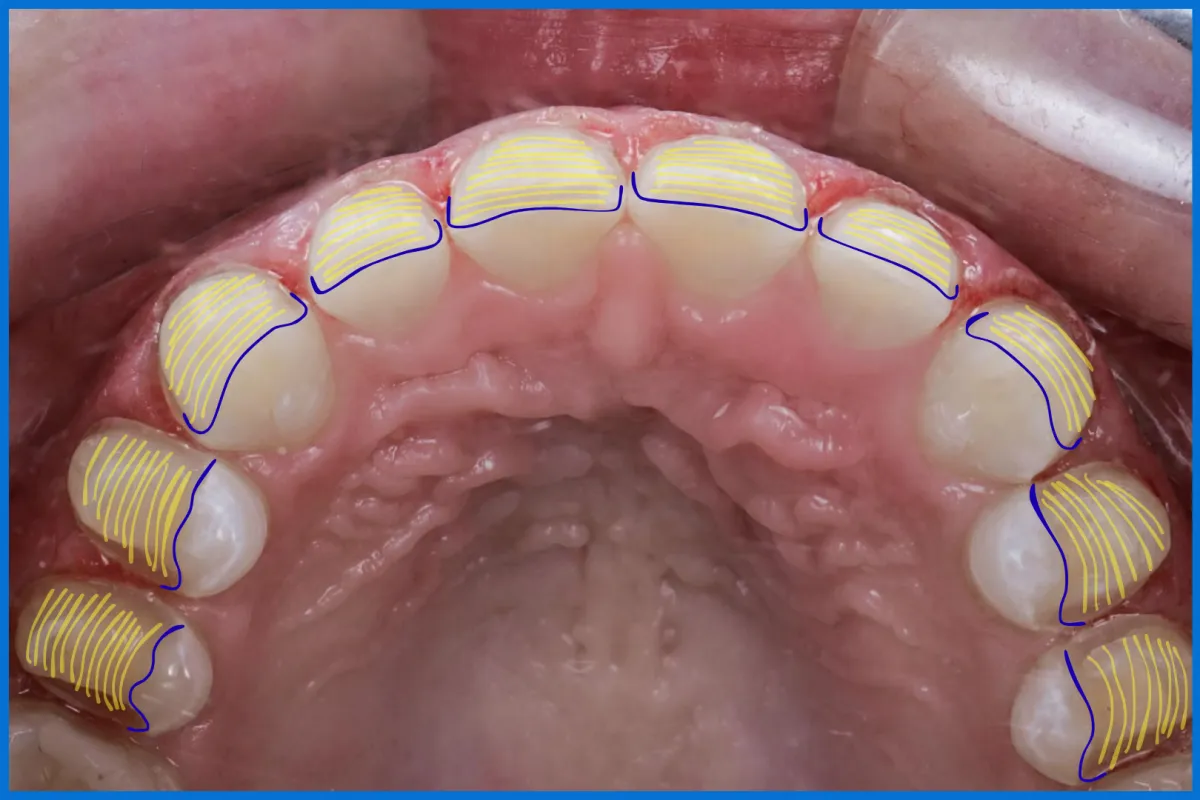
Over three packed days, you’ll walk through the full indirect veneer workflow: from smile design and preparation to temporization, cementation, and live patient execution. Plus, you'll dive into branding and case presentation strategies that help position you as the go-to provider for esthetic care.
$1,000 OFF
Course Karma Exclusive Offer
Occlusion for the Real World
OBAB was created to simplify this complex topic, making it easy to understand and implement in your daily practice. This is the knowledge that occlusion camps don't want you to discover—the on-demand, online course covers everything comprehensively without dividing the subject into multiple courses, continuums, or pathways.
Module 1 – Occlusal Foundations - You will understand the difference between Function and Parafunction, as well as Anatomy and Physiology explained to you in a way that actually makes sense and is CLINICALLY relevant!
1.0 - Welcome to Module 1
1.1 - Language of Occlusion
1.2 - Occlusion vs Occluding
1.3 - Anatomy and Physiology Part 1 (Muscles and Joints)
1.4 - Anatomy and Physiology Part 2 (Teeth and CNS)
1.5 - Biomechanics and Levers
1.6 - Function vs Parafunction Part 1
1.7 - Function vs Parafunction Part 2
1.8 - Weakest Link Theory
1.9 - Challenge 1 - Weakest Link in Practice
1.10 - Physiological vs Pathological TSL
1.11 - Envelope of Function
1.12 - Envelope of Function Part 2
1.13 - Bruxism, Occlusion and TMD
1.14 - Guidance Systems and Interferences
1.16 - Module Quiz - Test Yourself
Scenario 1 - Virgin Cracked Tooth and Occluding Disease
Module 2 - History, Exam and Records - Master basic and comprehensive Occlusal exams, understanding their use. Our 4K loupe-mounted camera footage provides superior views.
2.0 - Welcome to Module 2
2.1 - CSI - The Mystery is in the History
2.2 - Basic Occlusal Examination
2.3 - Basic Occlusal Exam Clinical Walkthrough
2.4 - BOE Form Walkthrough
2.5 - Comprehensive Occlusal Examination
2.6 - Challenge - Assess Muscle Size
2.7 - Assessing TMJ Health Part 1
2.8 - Assessing TMJ Health Part 2
2.9 - Conformative Dentistry Part 1 - Introduction
2.10 - Conformative Dentistry Part 2 - Armamentarium
2.11 - Challenge - Use Shim Stock
2.12 - Conformative Dentistry Part 3 - Direct Non-Guiding Tooth
2.13 - Conformative Dentistry Part 4 - Direct Guiding Tooth
2.14 - Conformative Dentistry Part 5 - Indirect Non-Guiding Tooth
2.15 - Conformative Dentistry Part 6 - Indirect Guiding Tooth
2.16 - Conformative Dentistry Part 7 - Top Tips
2.17 - Conformative Dentistry on Guiding Teeth - Bonus
2.18 - Identify Wear Patterns - Introduction
2.19 - Identifying Wear Patterns - Edge to Edge
2.20 - Identifying Wear Patterns - Pathway Wear
2.21 - Identifying Wear Patterns - Edge AND Pathway Wear
2.22 - Identifying Wear Patterns - Crossover Wear
2.23 - Identifying Wear Patterns Wrap Up
2.24 - Fremitus and Occlusal Trauma
Module 3 - Risk Assessment and Planning - Learn basic and comprehensive Occlusal exams, understanding their use. Our 4K loupe-mounted camera footage offers superior views.
3.0 - Welcome to Module 3
3.1 - Conform or Reorganise?
3.2 - Play Your Bite Right!
3.3 - Challenge - Reorganise or Conform?
3.4 - Ideal Occlusal Features - Fundamental Concepts
3.5 - Ideal Occlusal Features Part 2 - Load and Resistance
3.6 - 5 Occlusal Positions Part 1
3.7 - 5 Occlusal Positions Part 2
3.8 - Assessing the OVD
3.9 - Force Management Masterclass Part 1
3.10 - Force Management Masterclass Part 2
3.11 - Force Management Masterclass Part 3
3.12 - Last Tooth in the Arch Part 1
3.13 - Last Tooth in the Arch Part 2
3.14 - Last Tooth in the Arch Part 3
3.15 - Finding CRCP and Measuring the CR-MIP Shift
3.16 - Lengthening Teeth Part 1
3.17 - Lengthening Teeth Part 2
3.18 - Lengthening Teeth Part 3
3.19 - Lengthening Teeth Part 4
3.20 - NWSI Explained
3.21 - Respect the Pathways
3.22 - Identify Wear Patterns
Scenario 3 - Lost Occlusal Space Recovery (LTITA)
Module 4 - Conforming and Protecting- Don't be fooled, although most Maxillary Impactions can be quite easy to remove, some can be incredibly difficult and humbling! Let's learn how to tackle them
4.0 - Welcome to Module 4
4.1 - Importance of Conformative Dentistry
4.2 - Conforming with Benefits Part 1
4.3 - Conforming with Benefits Part 2
4.4 - Challenge - Robin Hood Adjustment
4.5 - Conforming with Direct Composite
4.6 - Conforming in Dynamic Occlusion CGIT
4.7 - Restorative Records for Advanced Conformative Dentistry
4.8 - Advanced Restorative Dentistry and Treatment Planning
4.9 - Converting Canine Guidance to Group Function
4.10 - Landing Pad Occlusion Part 1
4.11 - Landing Pad Occlusion - Part 2
4.12 - Landing Pad Occlusion Part 3
4.13 - Landing Pad Occlusion Part 4
4.14 - Lab Considerations in Conforming
4.15 - Challenge - Occlusal Prescription
4.16 - Canine Risers
4.17 - Optimizing Articulators
4.18 - Occlusion and Bridges Part 1
4.19 - Occlusion and Bridges Part 2
4.20 - Occlusion in Implants
4.21 - Landing Pad Case
4.22 - Challenge - Reduce Adjusting Time
4.23 - Cheating without Facebow Part 1
4.24 - Cheating without Facebow Part 2
Module 5 - Re-Organising and Beyond - Let's look at what determines the difficulty of Maxillary Impactions
5.0 - Welcome to Module 5
5.1 - What is the Re-Organised Approach?
5.2 - Reorganised or Disorganised - Where to Start?
5.3 - Deprogramming Masterclass
5.4 - Treatment Planning Front to Back
5.5 - Working It Out In Provisionals
5.6 - Mutually Protected Occlusion
5.7 - Challenge - Plan Your Growth
5.8 - Canine Guidance or Group Function
5.9 - MOSO Part 1
5.10 - MOSO Part 2 - Framework
5.11 - MOSO Part 3 - What Helps Us Achieve It
5.12 - Dahl Technique
5.13 - Adapted Centric Posture - What is it?
5.14 - Adapted Centric Posture and Risk Assessment
5.15 - Post Orthodontic Occlusion
5.16 - Broad Lines Part 1
5.17 - Broad Lines Part 2
5.18 - Broad Lines Part 3
5.19 - Broad Lines Part 4
5.20 - Broad Lines Part 5
5.21 - Tx Planning and Sequencing FMR
5.22 - Challenge - Plan Comprehensively
5.23 - Occlusal Appliances for Protection
5.24 - My Experience with T-Scan
What You’ll Learn
By the end of the course, you’ll be able to confidently:
Distinguish between prep and no-prep veneers:
Make the right choice based on tooth alignment, existing restorations, and shade correction needs.
Plan and execute the full veneer workflow:
From smile design and tooth preparation to temporization and final cementation.
Prevent esthetic failures:
Avoid bulkiness and over-contouring with proper case planning and assessment.
Integrate function and biology: Ensure functional occlusion and support soft tissue health for long-term clinical success.
Communicate and market veneer options with confidence:
Learn how to present treatment clearly and position esthetic services as high-value solutions for your patients.
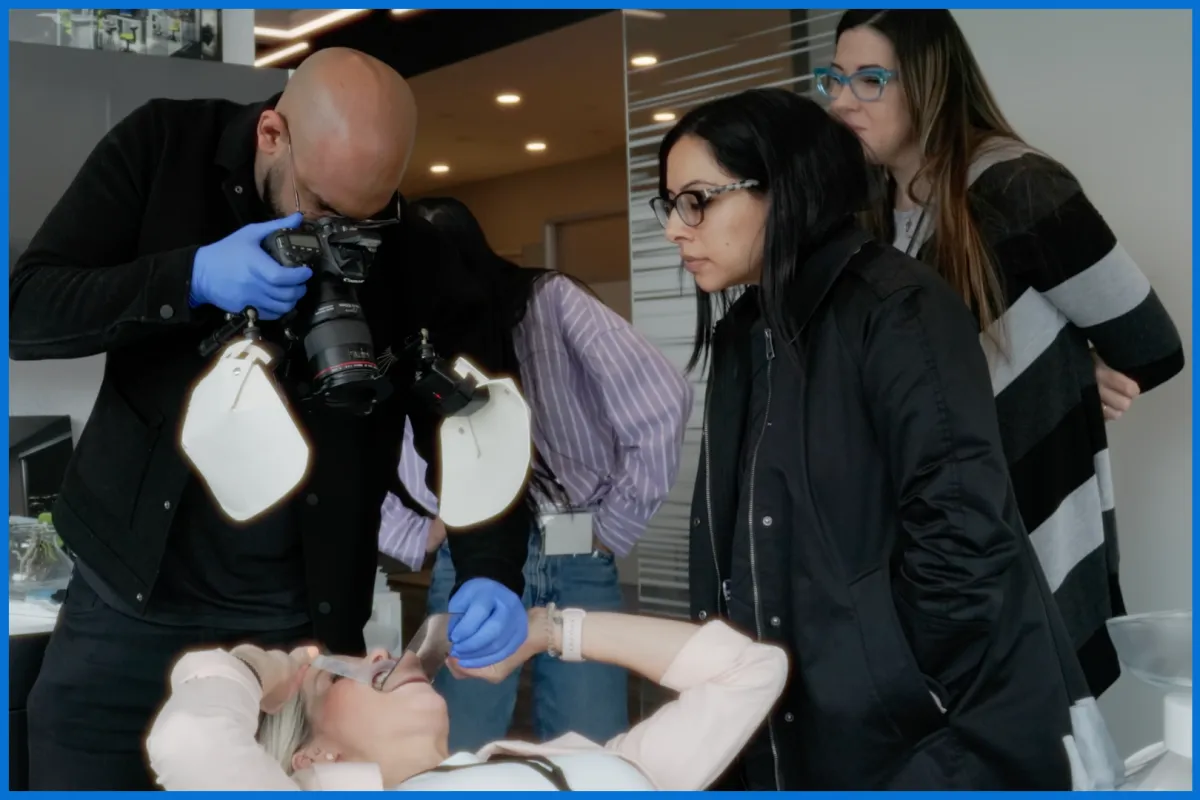
Incorporate dental photography:
Including dynamic portraiture, intra oral photography, shade taking, lab communication, and how to use light in creating artistic photos for marketing.

Course Details
Location: 4303 26 Street Northeast Calgary, AB T1Y 7K2 Canada
Dates: September 11 - September 13
Tuition is
$7,450 CDN(+GST)$6,450 Canadian Dollars + GST $1000 Dollars Off for Course Karma Community!!)
$1,000 OFF
Course Karma Exclusive Offer
- 3 Seats Left -
Here's what Dentists have to Say
Elevate Dentistry Reviews
Dr. Christina Coakwell
Dr. Sara Rayner
Dr. Amrita Sandhu
Your Instructors
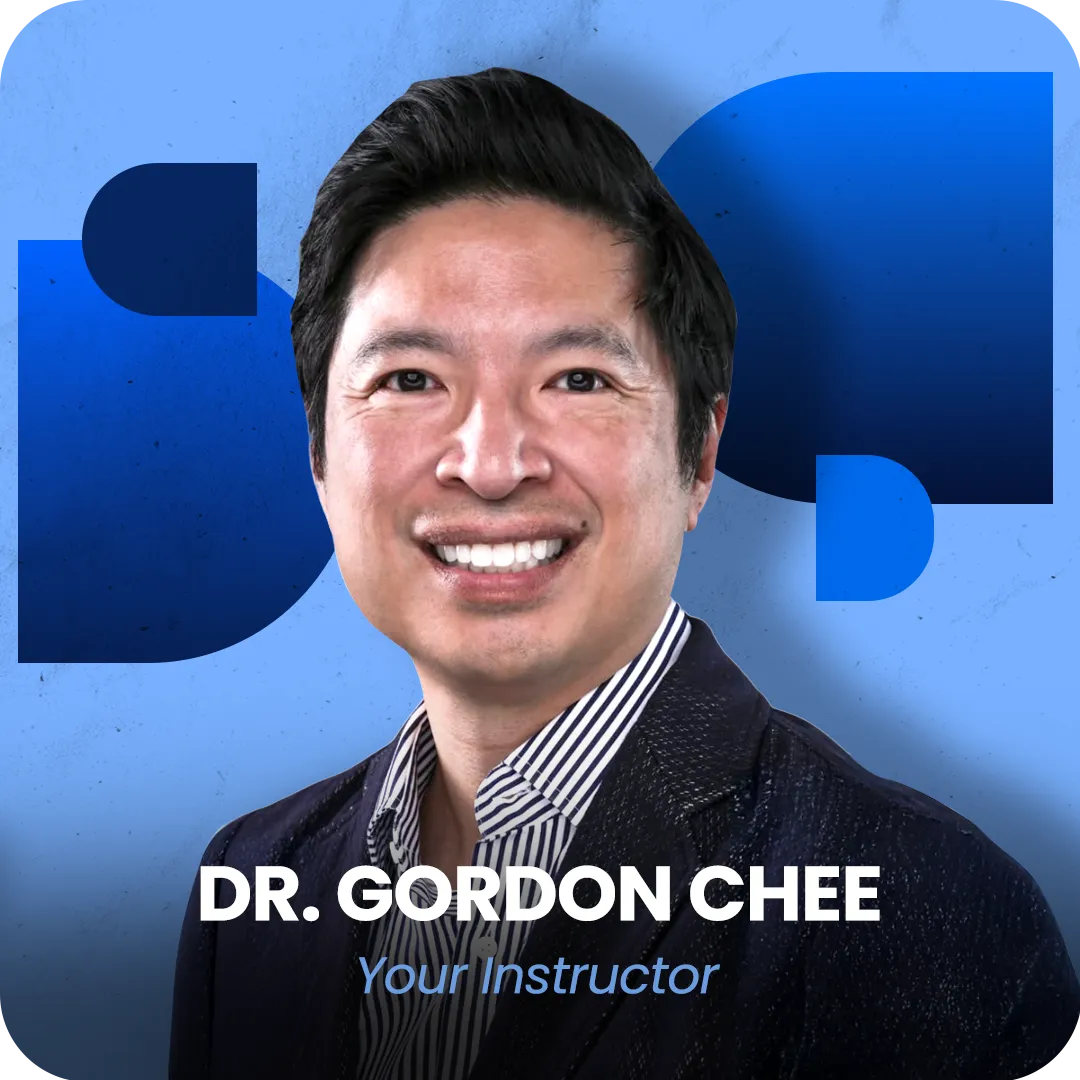
Dr. Gordon Chee is the dentist and owner at Aesthetic Dental Studio, a boutique dental practice in Calgary, Alberta, Canada, that focuses on aesthetic restorative dentistry. He graduated from the University of Alberta in 2000 with a Doctor of Dental Surgery degree. He is an international lecturer and the Director of Unity Alberta, an affiliate of the Seattle Study Club.
He teaches his own dental photography mentorship programs through Kre8 Photography and speaks and trains on the topics of
dental photography, marketing, niche business strategies and anterior aesthetics for Elevate Dentistry.
He is a key opinion leader for multiple major dental manufacturers and is a dental product advisor for Dental Advisor.
In his personal time, he enjoys golf, photography, food and travel and spending time with his lovely wife and three kids.
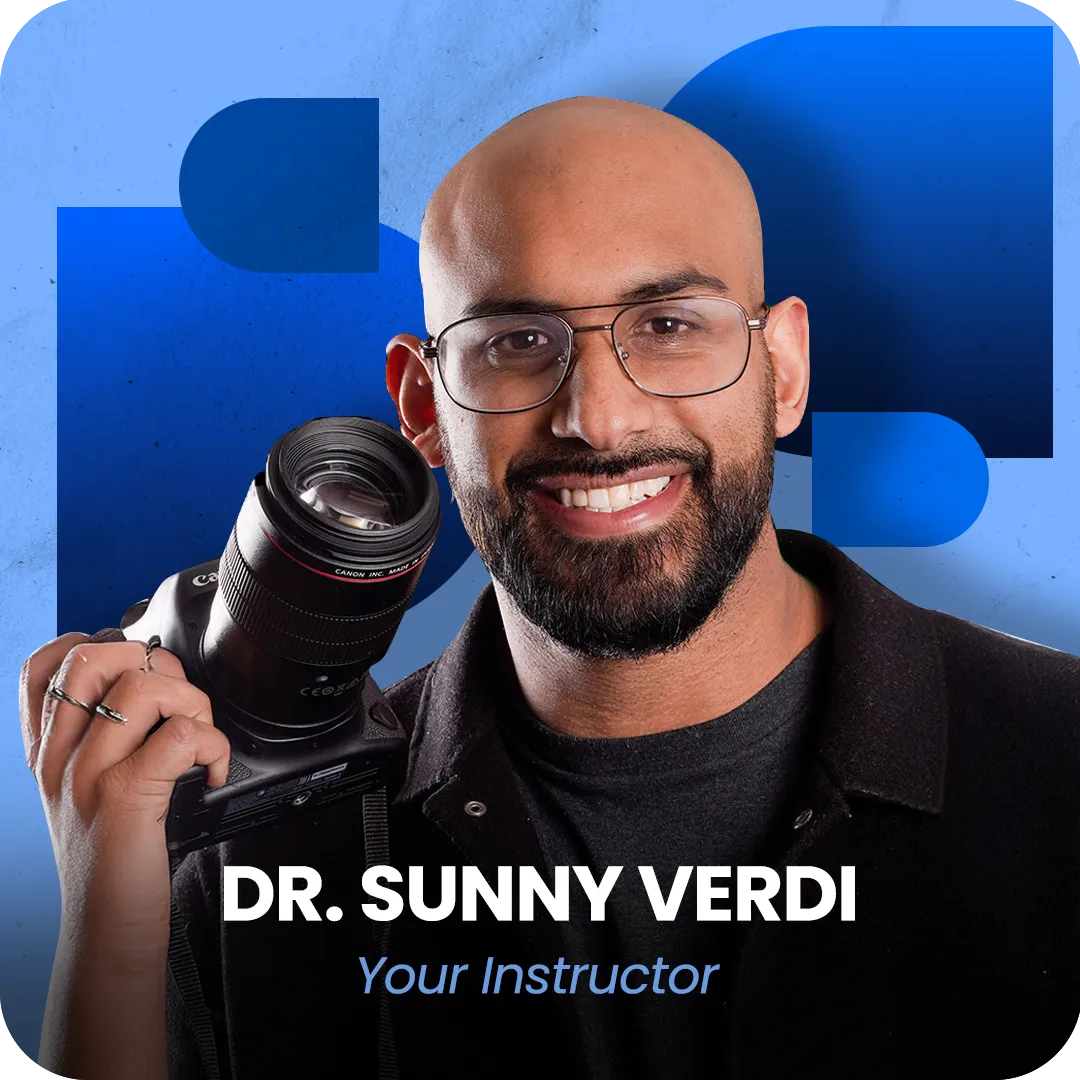
Born and raised in Winnipeg, completed his Doctor of Dental Medicine at the University of Manitoba. He brings a blend of creativity, passion, and community focus to his practice.
Recognized as an emerging leader in dentistry, Dr. Virdi is passionate about using technology and photography to enhance patient care. Outside the clinic, he’s a dedicated Raptors fan always ready to talk hoops.
Dr. Paresh Shah maintains a private practice in Winnipeg, Canada with a focus on implant, cosmetic and interdisciplinary care. He graduated from the University of Manitoba in 1991.
Dr. Shah has a proficiency certificate in Esthetic Dentistry from the University of Buffalo (SUNY) in 2007 and a Masters in Physiology from the University of Manitoba in 1987. He is also a graduate of the Misch Implant Institute Prosthetic Program and the Kois Center in Seattle.
Dr. Shah serves as a consultant for numerous dental manufacturers in product development and evaluations. He is a founder and co-director of an interdisciplinary Two Rivers Dental Study Club in Winnipeg, a Seattle Study Club affiliate. He has used digital technology in his practice for over 18 years and provided over 400 lectures globally on all aspects of restorative, interdisciplinary care and digital dentistry.
Limited Seats Available – Hands-On Learning with Expert Guidance. Enroll Now!

Our mission is to help dental professionals find the best continuing education.
Copyrights 2024 | Course Karma Inc